Humble Beginnings
I bake bread. I've mentioned it a few times; in fact, I have two recipes up on the blog, one for white and one for a whole wheat loaf. Both are no-knead recipes, both are dead easy, so there are no excuses for not baking bread at home. I am currently testing different iterations of those recipes so that they are fail-proof with a sourdough starter. But I am not here to babble about my love of bread today (that post for white bread, it's practically a novel on my love of bread...) I am not even going to try to convince you to start a sourdough culture, but I am going to address those of you who have a starter. If you do not have a sourdough starter, do stick around though, you get an alternative recipe as well!
In this post, I would like to address the elephant in the room: all that starter that gets 'thrown away'. If you have a sourdough starter, or have read up on it, you will know that most recipes call for discarding half the starter before each feeding. It always seemed like such a waste to me: actual food being thrown down the drain or into the compost heap, for the sake of 'simplifying' the upkeep of a starter. The idea behind this wasteful step is that discarding part of the starter maintains a constant state of growth, so that the yeasts are always active. Some people choose to hand out jars of sourdough, but this also has its limits, since not everybody wants to bake bread at home, much less have a pet to take care of. I often make pancakes with the discard, but truth be told, one can only eat so many pancakes.
Sometimes, crumpets are the answer. If you are not familiar with crumpets, they are something between a pancake and an English muffin: all three are baked on a griddle pan; pancakes and crumpets are made from a thick batter; crumpets and muffins contain yeast; all three can be made with left-over sourdough starter (though if you do not have a starter, you can make all three as well.) The origin of the crumpet is rather hazy, but definitely stems from a time when ovens were hard to come by and everyone wanted to have a bread-like food to sop up dinner. In order to get thick crumpets, they are usually cooked in rings: cans with the tops and bottoms removed are a good alternative. However, they can be made without, in which case they become known as pikelets.
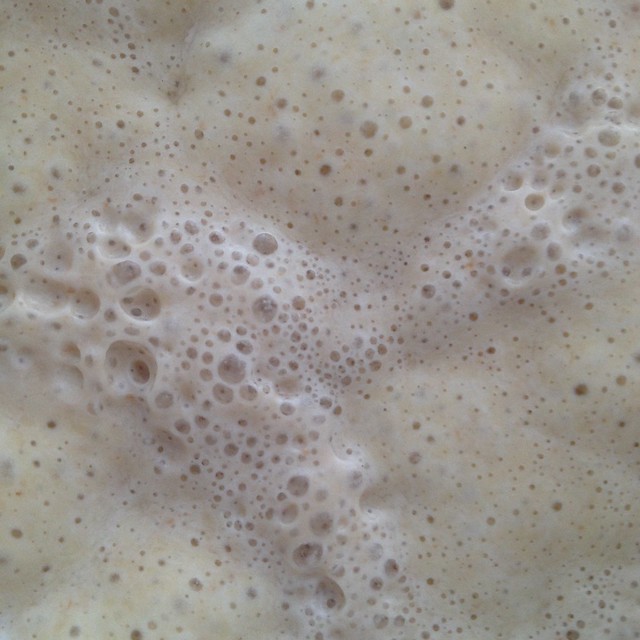
There is nothing easier than making sourdough crumpets. In fact, given how much work I am putting into testing my no-knead sourdough recipe, I sometimes wonder why I don't just stick to making crumpets all the time! You will need to collect the sourdough discard in the fridge until you have at least 250ml/1cup. My starter is at 100% hydration (equal weight flour to water) to which I add enough water to turn it into a runny batter: it comes out to about 50% more water (i.e. 150% hydration.) In concrete, non-math terms, it means that if I have 500g of sourdough, I add more or less 125g of water to get the right consistency. It gets a little more complicated if you use cup measures, but the general idea is to get a thick pancake-batter-like consistency. The baking soda needs to be added just before cooking, which is why the recipe below is for 3 crumpets only (I only have 3 rings at the moment). However, it can easily be scaled up if you have more rings and a big enough pan -for 4 rings, just increase the batter to 200ml/1US cup, and keep the other ingredients the same.
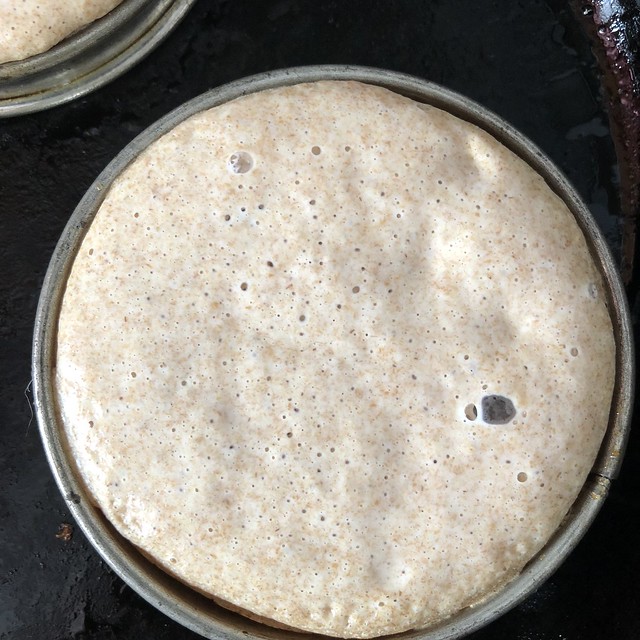
Sourdough Crumpets
Makes 3x8.5cm (3.3") crumpets
150ml/ ⅔ cup thinned down sourdough starter
1 pinch salt
¼ tsp baking soda (sodium bicarbonate)
vegetable oil
Lightly oil and heat a flat, heavy-bottomed pan on a medium-low setting.
If using rings, oil them and place on the pan to heat up.
When the pan just about begins to let off a few whisps of smoke, stir the baking soda into the batter and whisk thoroughly.
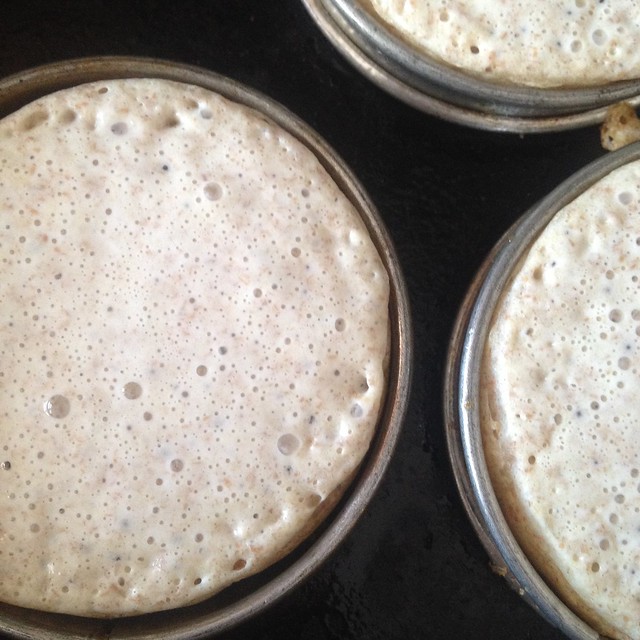
Pour batter into the rings: the batter should bubble and sizzle, but if the pan seems too hot, lower the heat.
Leave to cook on one side until the edges of the crumpets pull away from the ring, about 5 minutes.
At this point, if you want extra-large bubbles on the surface of the crumpets, bang the pan a few times to bring air bubbles up to the surface.
Carefully remove the rings using tongs.
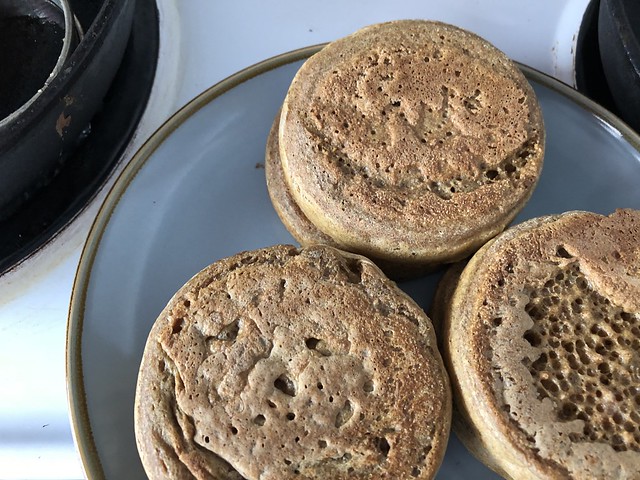
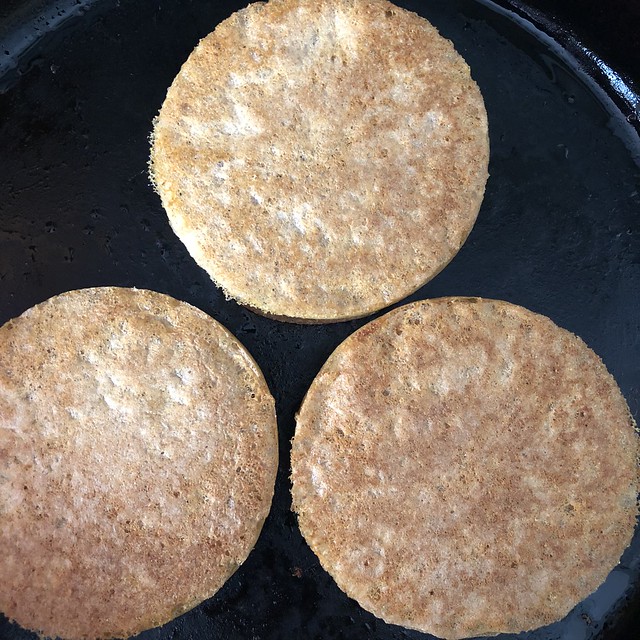
Lower the heat further and cover with a lid to cook the crumpets through: the surface should be spongy and dry to the touch, about 5 minutes. Alternatively, flip the crumpets over to brown the top and get an extra layer of crunchiness.
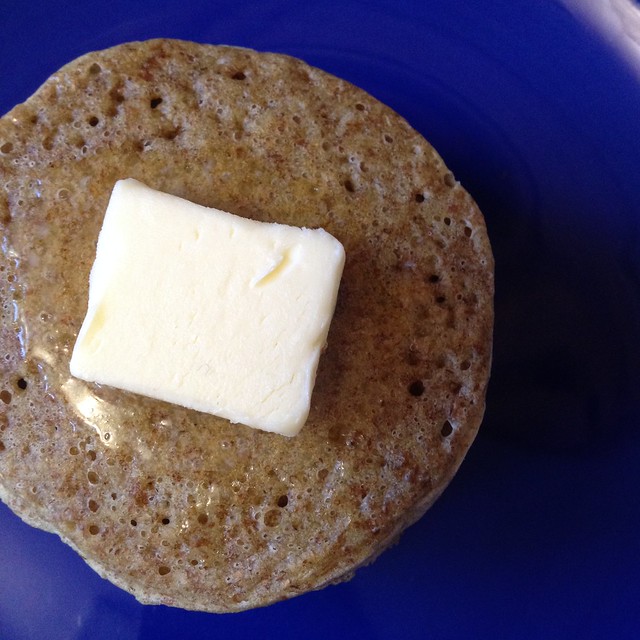
Serve immediately with lashings of butter.
Repeat the process until all the sourdough is used up.
Left-overs can be chilled or frozen for later, just pop in the toaster to re-heat.
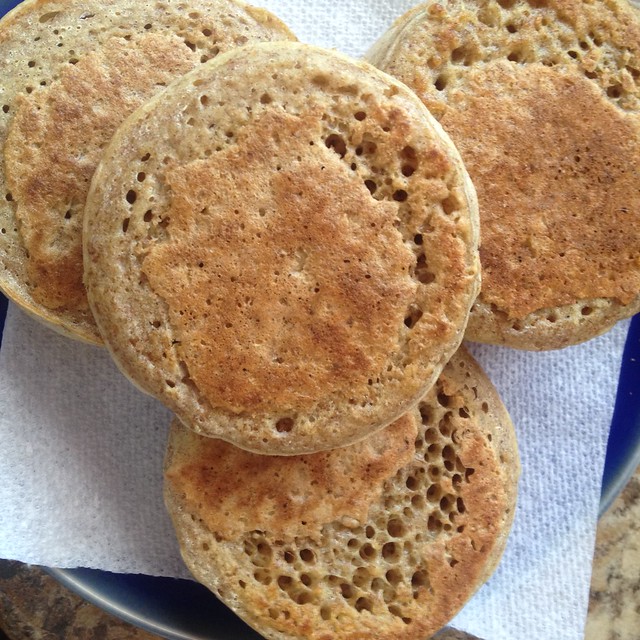
I use a cast iron pan to cook my crumpets, however, you can use any heavy-bottomed pan, as long as it is flat, otherwise the batter will dribbled out of any gaps. If you have a very well-seasoned cast iron pan, it may not be necessary to oil the pan, but the rings need to be oiled for each batch. The process is pretty much the same for non-sourdough crumpets, except that the baking soda is added in one go because the batter is not as acidic.
Classic Crumpets
Makes about 10
250g/ 1¾ cups strong (bread) flour, brown or white
250ml/ 8.8oz water, half of which can be replaced with milk
½ tsp salt
½ tsp cream of tartar (optional, this adds a slight acidity to the batter)
1 tsp dry yeast
125ml/ 4.4oz water
1tsp baking soda
oil for cooking
Stir the flour, salt and cream of tartar -if using- together.
Gently warm the water so that it reaches blood temperature: it should feel neither hot nor cold if you dip your finger in it.
Mix the yeast in the water, and stir to dissolve.
Combine the liquid with the flour and mix well to break up any lumps.
Cover the bowl, and keep in a warm, draft-free place for about 2 hours, or up to overnight in a cool place, until the batter looks frothy and lively.
Lightly oil a flat, heavy-bottomed pan and heat on a medium-low setting. Oil cooking rings, and place in the pan.
While the pan is heating, stir the baking soda in the remaining cup of water, and mix into the batter.
When the pan begins to smoke, pour the batter into the rings.
Lower he heat if the batter seems to be sizzling too vigorously, and allow to cook until the edges of the crumpets pull away from the metal rings, about 5-7 minutes.
Tap the pan to create more bubbles on the surface of the crumpets, if desired.
Carefully remove the rings, and either flip the crumpets to brown the tops, or cover with a lid to ensure that they are cooked through, about 5 minutes.
Serve immediately, or save for later.

Crumpets should always be served hot from the pan or toasted, but what you put on top is entirely up to you! Although slathered in butter seems to be the consensus, some prefer a dollop of jam (my mum), a scraping of Marmite (my best friend), but I am a little partial to a poached egg -as above- or some smashed avocado (without the butter, just salt and pepper). Whatever suits you is dandy, I sometimes even have a plain one while I wait for a batch to cook up!
Bon App'!


Comments
Post a Comment