Butterscotch
Making caramel often fills even the most seasoned baker with dread. Aside from the very real potential for terrible burns, caramel can be rather finicky: it can be cooperative one day, and a complete disaster the next, with no rhyme or reason as to why either would happen. There is actual science behind the interaction with sugar and Harold McGee has probably written about the chemistry of sugar, however, for our purposes we only need to understand one thing: sugar is a diva.
Back in cooking school, I often rolled my eyes when the chefs would refer to certain foods in feminine terms, but in the case of sugar, the label fits perfectly. Sugar can be high strung, demanding, nit-picky, and it will throw a hissy fit at the drop of a hat. It does not like to be poked or prodded, but if it is satisfied that its conditions are being met, then it will cooperate. Suffice it to say that the exactitude required in most baking applies doubly in caramel making. Any utensil or equipment used needs to be clean and free of fatty remnants: non-stick Teflon pans should be avoided if possible as oil often sticks to its surface, and caramel will reach temperatures that can damage the non-stick surface. Stirring is best done with a heat-proof spatula or a metal spoon, and wooden spoons should be avoided unless they are pristine and free of any savoury stains. Because caramel requires all your attention, it is important to have all the ingredients measured out and equipment ready before the stove is turned on.

Salted Butterscotch
Yields about 500ml/ 2 cups
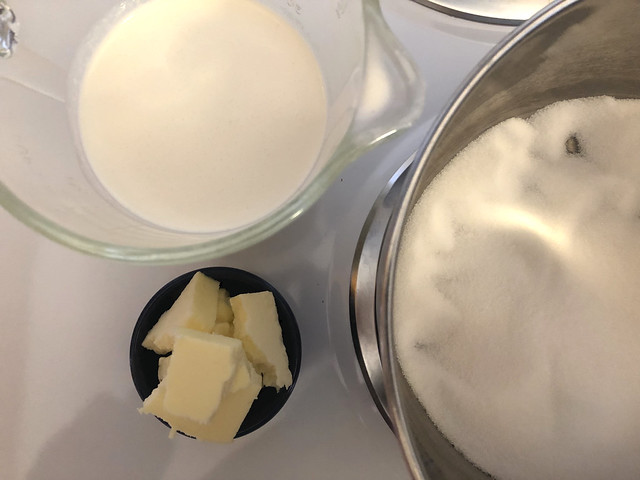
200g/ 1 cup minus 1 Tbs sugar
50g/ 4 Tbs salted butter
250ml/ 1 cup heavy cream
Measure all the ingredients into separate containers, set aside until needed.
Pour the sugar in a medium-sized pan: the sugar should have a depth of 1-3cm/ ⅓-1". If cooking on an electric stove, it can be helpful to pour the sugar unevenly into the pan: leave dunes and valleys so that any melting can be quickly spotted in the shallow parts. On a gas stove, melting will first appear around the outer edges of the pan.
Place pan on the stove, and turn on hob to high heat. Keep a close eye on the pan.
Your nose will spot caramelization before any visual clues appear, however, it is extremely important not to stir until the right time.
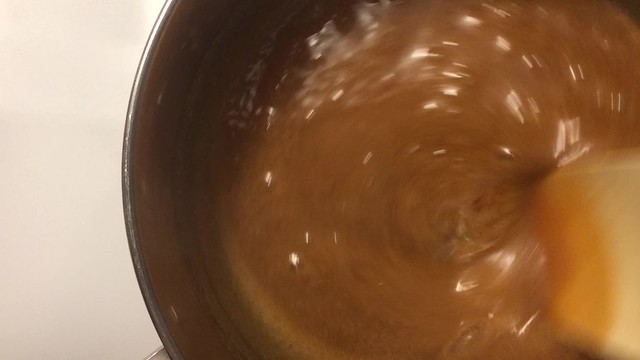
When the first puddle of melted sugar appears, lower the hob to a medium heat. At this point, gentle stirring can begin: slowly nudge unmelted sugar into the pools of caramel, stirring slowly to encourage even melting. If several pools are apparent, lift the spatula from puddle to puddle - do not drag the spatula across the unmelted sugar.
Keep in mind that caramel cannot be rushed. If, however, caramelization is happening too fast for comfort, turn down the heat.
Keep stirring the caramel until no sugar crystal remains: the caramel should appear to be perfectly smooth and clear. If any lumps appear, just keep stirring until they are fully melted.
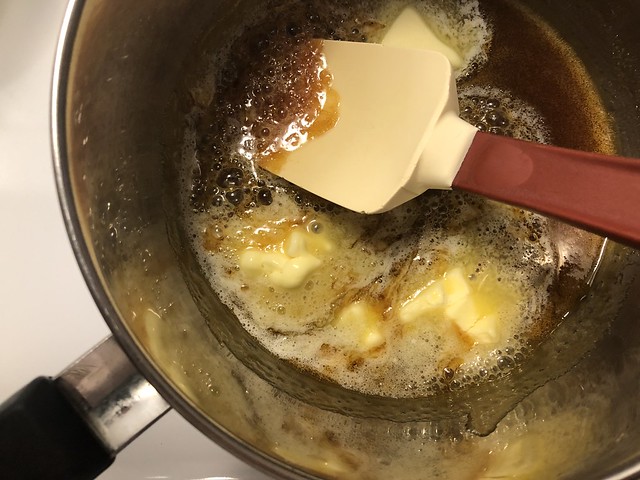
When the sugar appears to be fully dissolved, add the butter being very careful not to splatter yourself. Stir to incorporate.
Keep in mind that once butter and cream are added to the caramel, it will not get any darker: if you prefer a hint of bitterness in your caramel, allow the caramel to darken enough before adding the butter.
Bubbling and sizzling will occur, however, the butter might not mix in completely.
Keep stirring until the bubbling quiets down, then carefully pour in the cream.
The caramel is less likely to splash if stirring is done in quick but small circles, all the while covering the entire bottom surface of the pan: think of the Earth rotating around the sun.

Cold cream will cause the caramel to seize up, but it is nothing to worry about. Turn up the heat if necessary, and keep stirring until any lump dissolves.
To avoid seizing, measure out the cream well in advance of making caramel so that it has the time to warm up to room temperature.
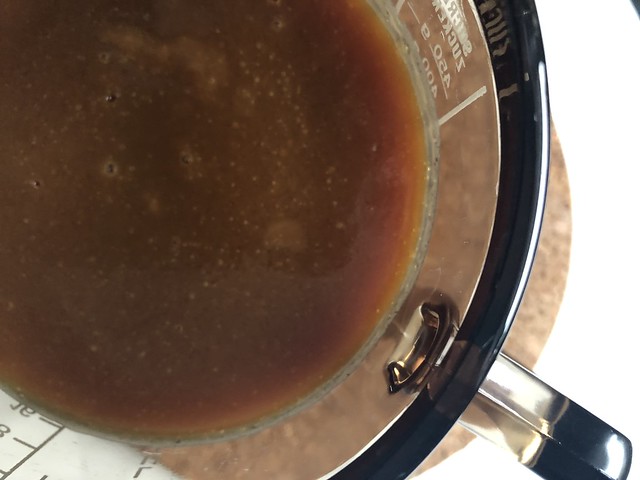
In order to ensure a long shelf life, the caramel sauce should be allowed to boil for at least 1 minute before removing the pan from the hob.
Pour the butterscotch into a heat-proof bowl or jar, and set aside away from prying hands until completely cool.
It goes without saying that at no point during the making should any fingers go near the caramel. Moreover, until the butterscotch is fully cooled down, no tasting can be done either. Sugar burns are particularly vicious because caramel stubbornly sticks to exposed skin. Knowing how far to push the caramelization takes practice and self-awareness: your nose and eyes will tell you a lot about the end product will turn out. If the caramel sauce turns out to be somewhat more cloying than you like, you can rescue it by burning a spoonful of sugar and substituting the butterscotch for butter and cream. Butterscotch will keep refrigerated in a covered container for several weeks, if not months. Simply reheat on the stovetop or in the microwave oven before serving.
Bon App'!


Comments
Post a Comment