The Spice of Life
If you live in snow country, it may be hard to believe, but there are seasonal foods to be had right now.... Or at least as close to 'right now' as the fermentations gods will allow you to. I am referring to kimchi, of course. Fitting actually, since the Pyeongchang Olympics are going on, and they are sooooo exciting!!! Cool temperatures are better suited to fermentation, since overly hot weather can invite the wrong kind of bacteria to the party. It doesn't mean that once you get a taste for home fermenting that you should avoid doing so in the summer, just that hot weather requires keeping a closer eye on all the bubbling pots: having a cool basement or cellar is an advantage.
Currently the darling of trendy foods, kimchi is full of probiotics and other beneficial-for-your-gut goodness, and it has everything to please budding and die-hard fermentos. I have been dabbling in home fermenting since my university days, when I launched myself into home brewing batches of mead. Being an English Lit major, images of Anglo-Saxon warriors guzzling mead was just too enticing not to find out what the fuss was all about... But that's a story for another day. I am by no means an expert at home fermentation, but the recipe below is based on what I have learned over the years, and what has proven to be fool-proof for me. If you have a look online at all the fermenting going on, you might think that it involves a sizeable investment in a lot of fancy equipment, but trust me when I say that you can probably jump onto the band wagon without buying any specialised equipment at all.
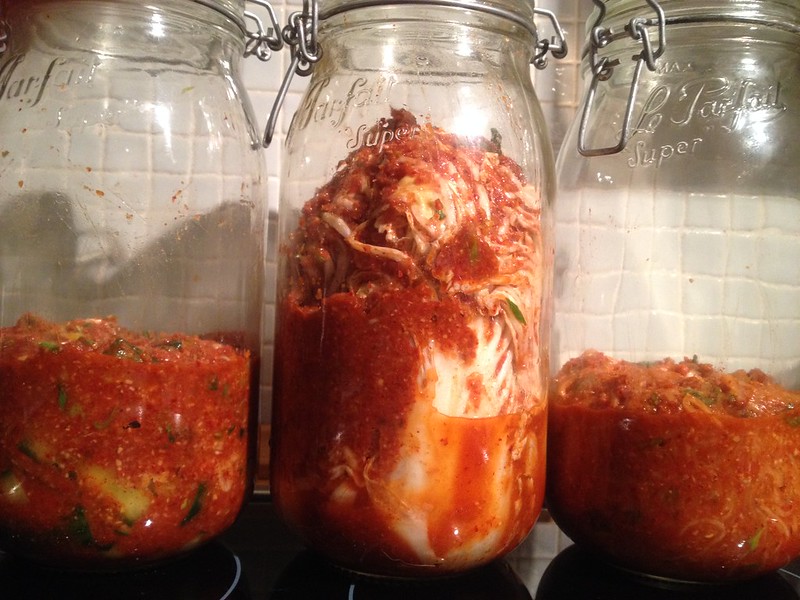
First and foremost in fermentation is obsessive cleanliness -within reason! There is no need for toxic cleansers, a good scrubbing with hot, soapy water will do. For this reason, glass or crockery containers are best, since plastic is notoriously difficult to clean, and metal can corrode. The jar does not need to be new: it can absolutely be a repurposed canning jar or even a jam jar, if you want to start with a very small batch. A tight fitting lid is unnecessary and detrimental, but a lid of some sort is required. I prefer glass jars with hinged lids; I remove the rubber gasket so that fermentation gasses can escape. If all you have are Mason-type canning jars with metal lids, you can buy silicone inserts to avoid contact between the fermenting foods and metal. Ideally, the jars should be neither too big nor too small: in the picture above, the middle jar is adequate for fermenting a whole nappa cabbage, but much too big for the two other kimchi. However, both kimchi turned out great, so apparently, it's not the end of the world if your jars are a little too big.
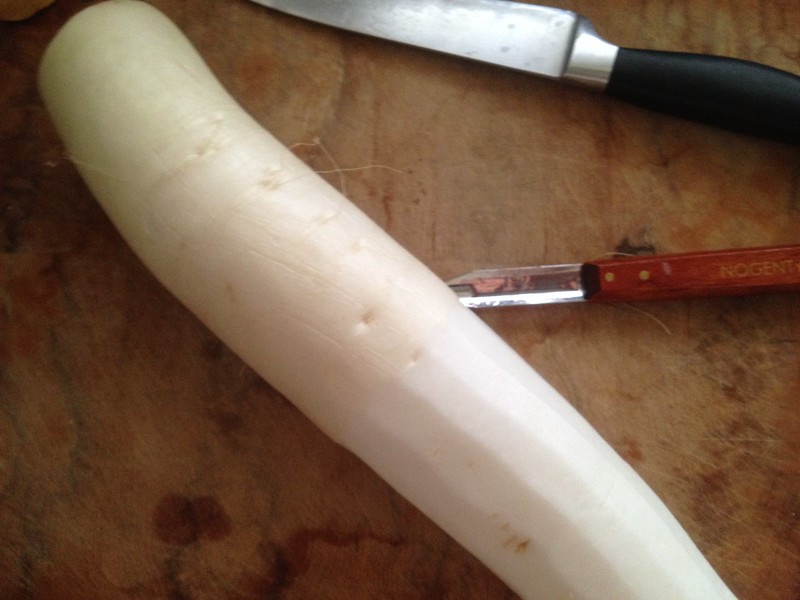
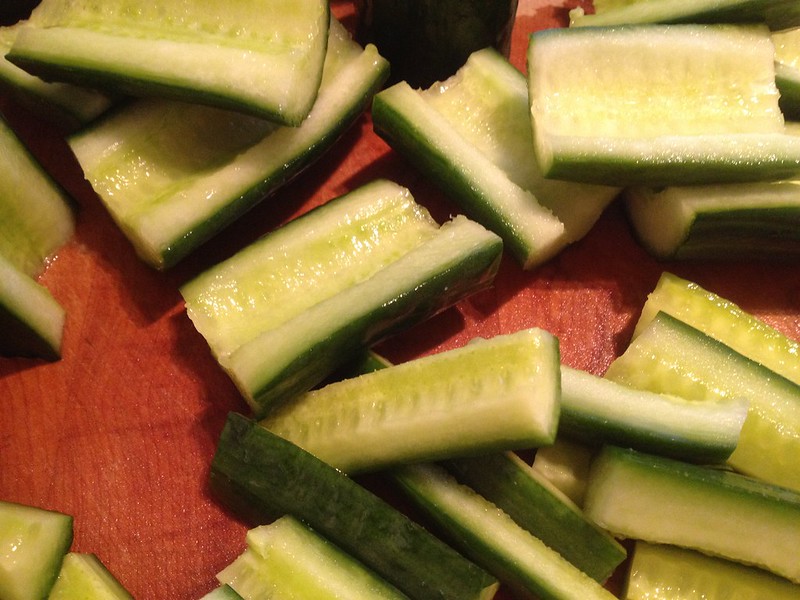
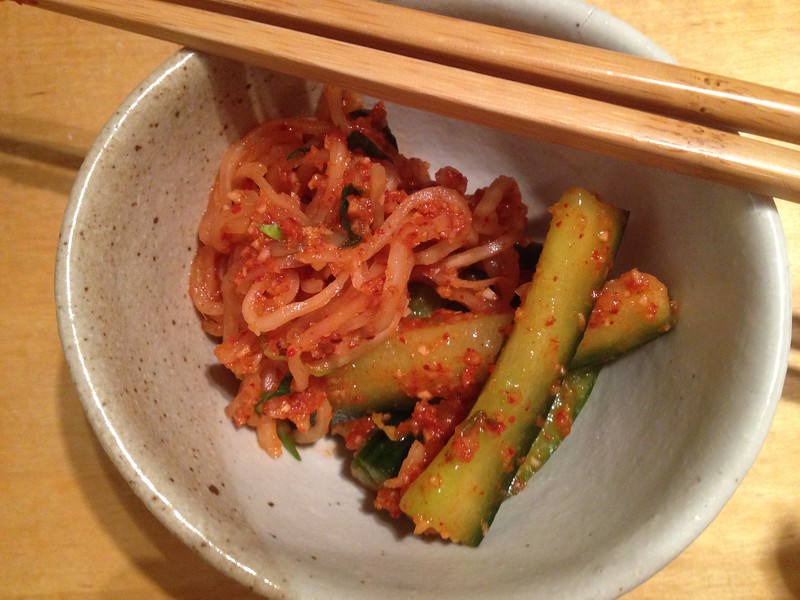
As with all preserving, it is important to use unblemished produce: so no withered cabbage from the back of the fridge, nary a wrinkled daikon from the discount bin. All the vegetables should be rinsed with clean water, and scrubbed of any dirt. Vegetables with a thick rind, like daikon, should be peeled, but thin-skinned radishes and cucumbers can be left unpeeled. Large cabbages can be quartered or, for a quick fermentation, shredded. How the vegetables get cut really depends on how quickly you want to dig into the end product: whole and quartered Chinese cabbages can take up to a month to reach peak flavour, whereas finely shredded daikon and cucumber sticks can be eaten within hours of throwing everything together; on the other hand, round radishes left whole or halved (with their leaves still attached please!!) are best after about three days. Expert fermentos -by which I mean Korean mothers and Polish grandfathers- will tell you not to rely on what the books say but to trust your taste buds: dig in to your jars with a clean fork every few days, and give it a nibble. If it tastes good, then all is well.
Now then, let's get fermenting!
Just about any hardy vegetable you can think of can get pickled. Most commonly eaten are nappa (Chinese) cabbages, daikon, cucumber, and whole radishes with their leaves -which are, admittedly, not in season in Canada right now. But whole, peeled garlic cloves are absolutely delicious and are essential to an arsenal against colds and flu; bok choi cabbages are quick and easy; whole green onions and quartered turnips are pretty yummy too... And why not shred some regular white cabbage (spicy sauerkraut!)? In fact, once you get into the whole process, you can pretty much let your imagination go on this one.
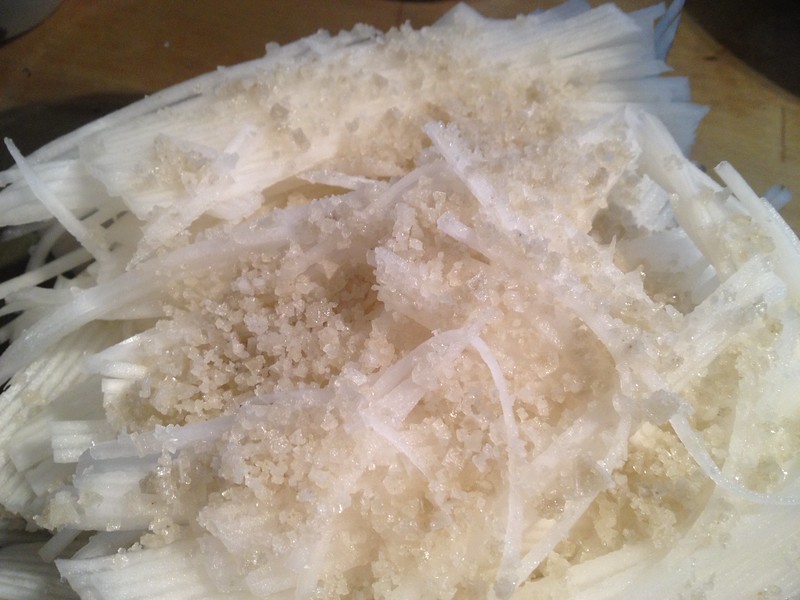
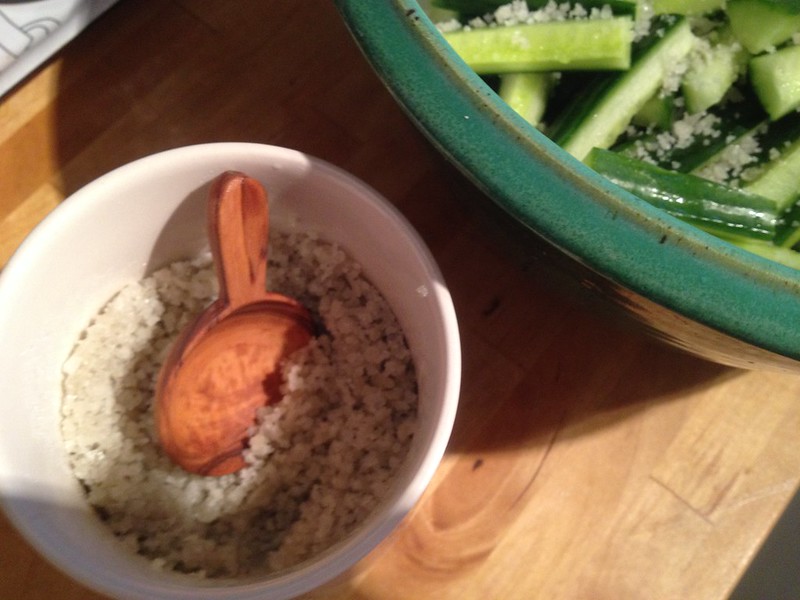
Once all your vegetables are washed, peeled and chopped, they need to get brined. Some people like to go for a dry rub of salt, but gauging how much salt is needed can be a little difficult the first few times around, so I prefer doing it old school with a wet brine: you need a 14% salt solution, in other words, 140g coarse salt per litre (or about 4oz of salt per quart) of cool water. Make enough brine to keep the vegetables submerged. It may be necessary to cover the whole lot with a small, heavy plate to keep everything under water. Leave smaller bits to sit for about 2 hours, and larger pieces can swim around overnight. When ready, drain the vegetables, and taste a piece or two to see how salty it is. If the vegetables are saltier than you like, give them a good rinse under the tap. When you are happy with the salt level, give everything a good squeeze to get rid of excess juices.
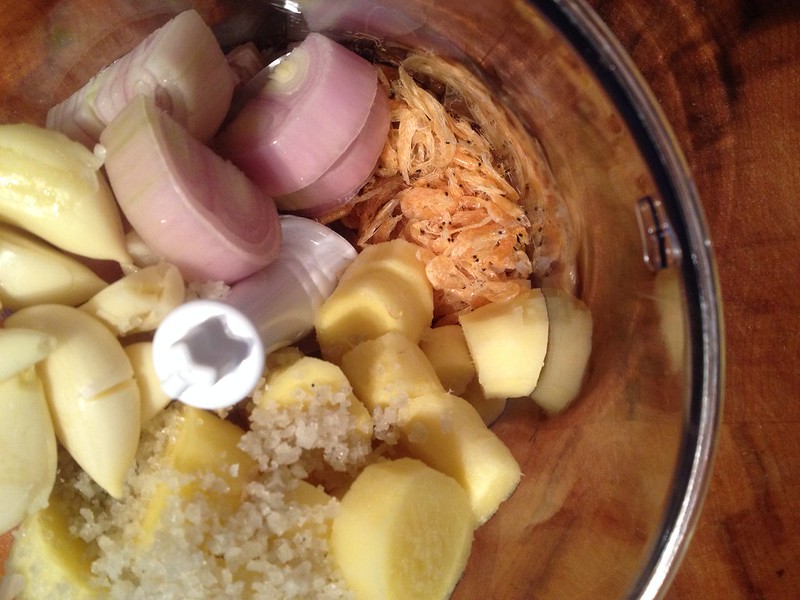
While the vegetables are brining, you can prepare the pickling paste, which, by the way, can happily sit in jar in the fridge for a few weeks, so you can whip up small batches of kimchi whenever the need arises!
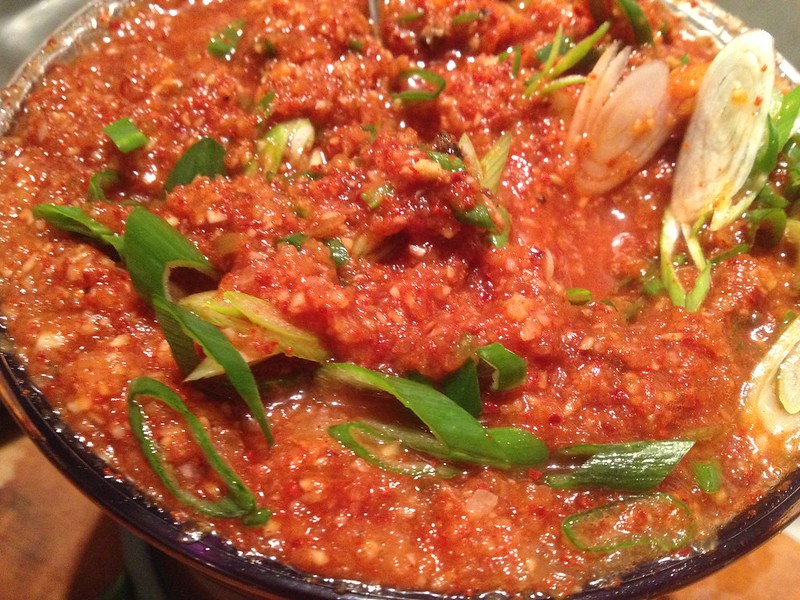
Kimchi Pickling Paste
Makes about 500g/3 cups
227g/ 8oz gochugaru* chili
30g/ 2Tbs sugar
5g/ 1tsp salt
50ml/ 3Tbs+1tsp tamari (or a Japanese or Korean soy sauce)
3 garlic bulbs
100g ginger
2 large bunches green onions (spring onions, scallions)
15g/ 1Tbs dried shrimps or shrimp paste (optional)
Peel and roughly chop the ginger.
Remove the root end of the garlic bulbs, smash and peel.
Trim dried ends and roots from the green onions. Cut the greens into 3cm/1" sticks, and set aside. Roughly chop the white part of the spring onions, and add to the garlic and ginger.
Place the sugar, salt, tamari, garlic, ginger, whites of the scallions, and dried shrimp or shrimp paste if using, in a food processor or blender, and purée.
Mix in the gochugaru and the spring onion greens.
Taste the paste, and adjust the seasoning if necessary: do beware! The chili's heat develops over time, so do not be tempted into adding extra chili until after you have successfully made a batch.
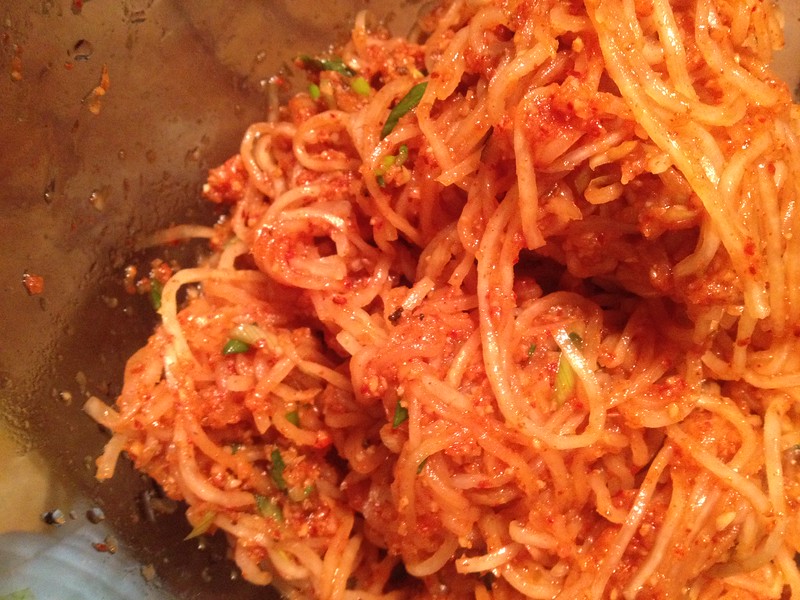
*Gochugaru is a coarsely ground chili powder, and can be found in most Asian supermarkets and online. It has a medium-hot to very hot spice level, residual sweetness and a hint of smokiness. It is also a beautiful bright red, so should not be substituted with other powdered chilies. However, if, like me, you are sensitive to overly hot foods, part of the amount can be replaced with some mild paprika or annatto paste. Additionally, be aware that some gochugaru contain salt, which you may want to avoid.
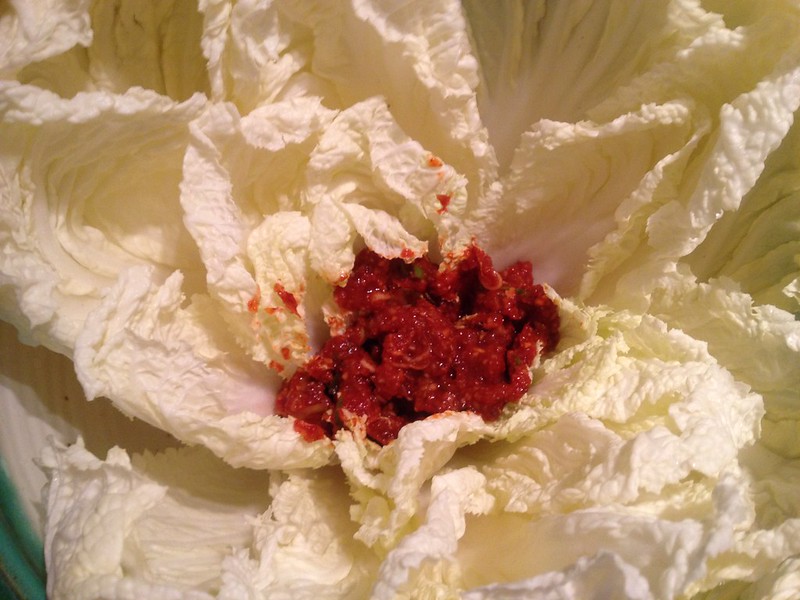
Generously coat the vegetables with the kimchi paste. For whole and quartered nappa cabbage, smear the paste in between each leaf, and reassemble the cabbage before packing into the pickling jars. The jars should be tightly packed: push the vegetables down to exclude as much air as possible. If you are pickling different types of vegetables, they should be put in separate jars, as they might not have the same fermentation rate. In a perfect world, there should be no more than a 3-4cm (1"-1½") gap at the top of the jar; this should be enough space to fit some kind of weight to keep the vegetables submerged. I use this type of silicone lids placed directly on the vegetables and glass yoghurt pots filled with water to weigh them down.
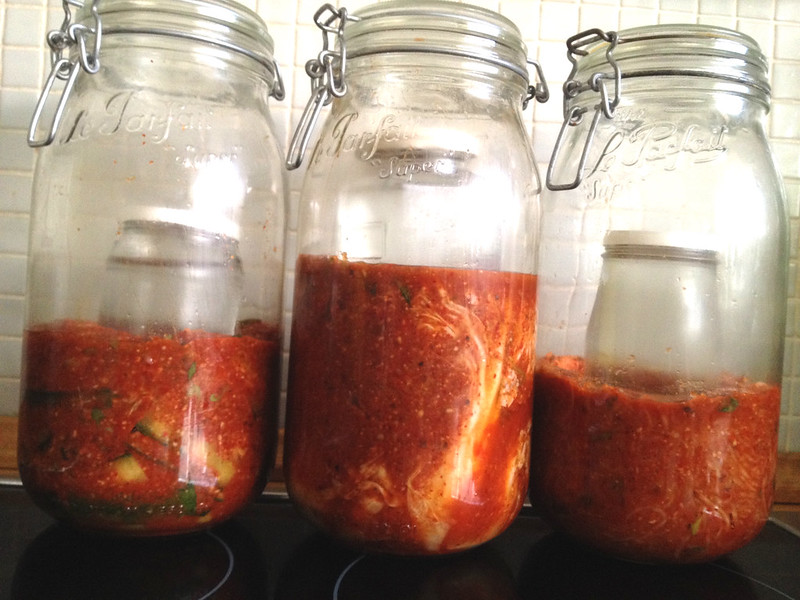
Don't worry if at first there isn't much liquid in the jar: over the next few hours, water will seep out of the vegetables. Check on the jars every few hours, and keep pushing down on the vegetables, making sure you do so with clean hands or utensils. Once the vegetables are under the pickling juices and weighed down, close the lid: do make sure that the tops are not tightly shut, or you may come home to a spicy mess! Now all you need to do is wait a day or two for the magic to happen. Depending on what is being pickled, bubbling can start within two days. However, finely shredded vegetables -such as spiralized daikon- or watery vegetables like cucumber are often ready to eat before any visible signs of fermentation are caught. In any case, make sure to taste the kimchi every few days to check how it is evolving. When you are satisfied with the flavour and texture, transfer to an airtight container and keep refrigerated. As long as the kimchi stays submerged in its juices, it will be fine in the fridge for quite a while.
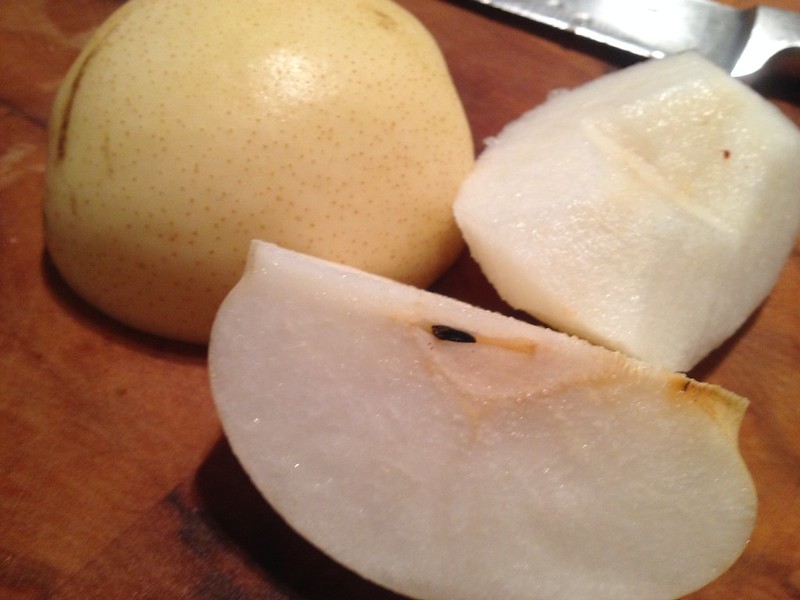
One last thing about the heat level: I have become of late a real wuss when it comes to spicy food, and have had to reign in my love of chilies. Aside from cutting back on the gochugaru in my kimchi base, I also like to add a grated pear or two to the mix. Nashi or Japanese pears would be in keeping with the cuisine, but you can use regular pears if nashi are not available. Obviously, Koreans may snigger at the use of pears, but if needs be...
Bon App'!


Comments
Post a Comment