Starting a Sourdough
There are countless ressources available on sourdough baking, so this post is merely a quick overview on starting your own sourdough ferment. First things first though: if you are serious about baking bread at home, please consider purchasing a digital scale. Though I generally try to abstain from advocating for specific kitchen equipment, this is one piece of kit that I think any serious baker needs to have. Bread making being such an intuitive art, most bakers prefer to speak in term of 'ratio' instead of precise measurements, where each ingredient is weighed out in proportion to the flour used.
There seems to be as many ways to make a sour starter as there are bakers in the world, but all you really need are good flour and clean water. If you can, try to use organic flour, whichever kind you want; if organic flour is difficult to find, or just not in the budget, do, at the very least use an unbleached flour, or better yet, a wholemeal flour (whole wheat, whole rye, whole barley, etc.) Although the bleaching agent used in flour is technically safe for human consumption, it happens to be lethal to the bacteria and yeasts found in a sour starter. As for the water, if you live in an area with highly chlorinated water, fill a jar or bottle and leave out, uncovered, overnight, no need for bottled or filtered water.
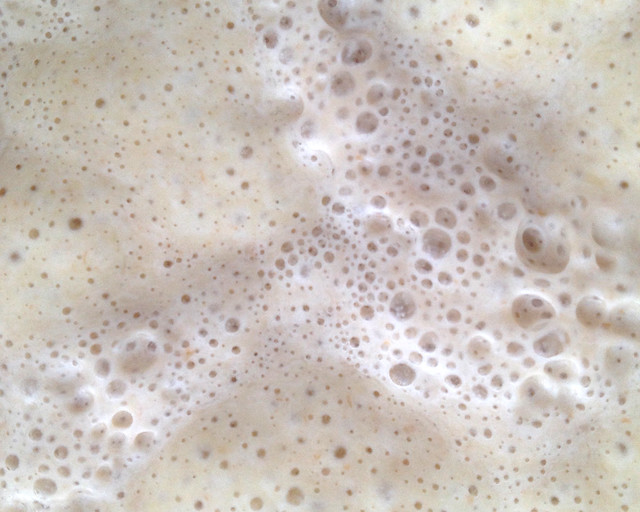
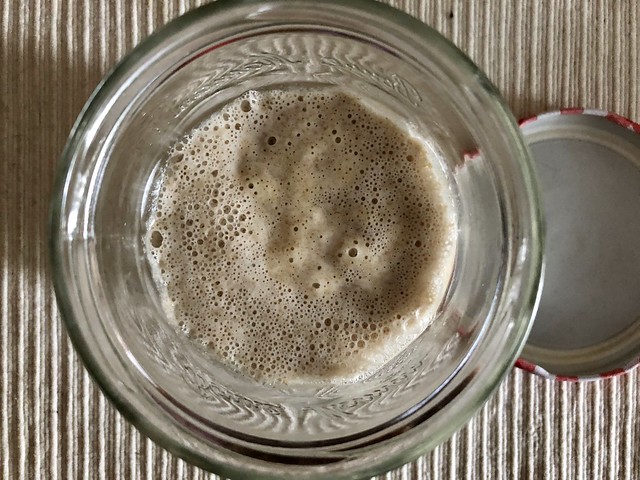
You are now ready to start: in a clean bowl or jar, weigh out 50g (which is equivalent to 1.7oz, but just use 2oz for simplicity's sake) of flour, and add the same in dechlorinated water -equal weights of flour and water, also known as 100% hydration in baker's terms. Mix together. Loosely cover with a cloth or lid, and wait. If using a lid, do not twist it shut, just place on the jar to prevent things from falling in the starter. The jar should be kept at room temperature, anywhere between 18ºC/64.5ºF and 25ºC/77ºF. Check on the slurry daily; depending on the weather, and the flour, it can take anywhere from 24 hours to 3 days before any signs of activity become apparent. You may notice bubbles on the surface of the mix or along the sides of the jar. Eventually, there should be some vigorous bubbling happening, and the starter may give off a whiff of something a little off: it is perfectly normal. Feed the starter with 25g (or 1oz) each flour and water, and keep feeding the starter every other day over the next four days days (three more feedings.)
After the second feeding, the starter should start smelling nicer. Depending on the flour you use, it may smell fruity-vinegary (like sour apples or grapes), milky-yoghurty, or beer-like. After the third feeding, the smell should start settling into something distinctly sour: if you feel up to it, give it a taste. It should have a tang to it, but still be pleasant, if it tastes in any way unpleasant, throw it out and start again.
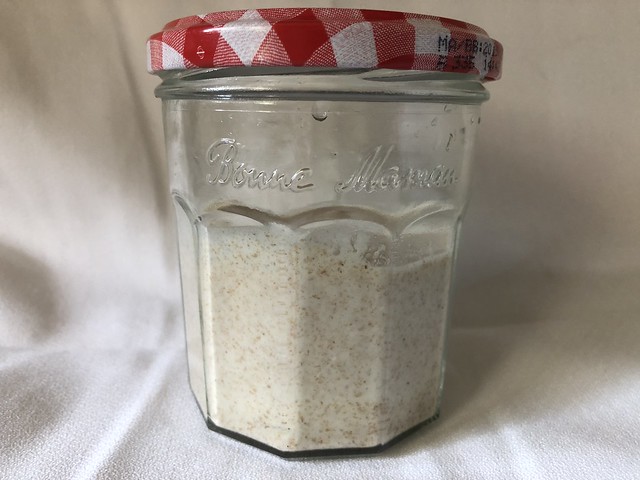
You're now ready to bake your first loaf of bread. Most baker's ratio account for 25% sourdough starter to flour by weight, so you should have enough starter for one loaf, and have some leftover for the next batch. Feed the starter every time you bake, and keep leftovers in the fridge, this way there is no need to throw any starter away. If your schedule does not allow you to bake on a weekly basis, add enough flour to your starter to make a stiff dough: your starter can now be left unattended in the fridge for at least four weeks.
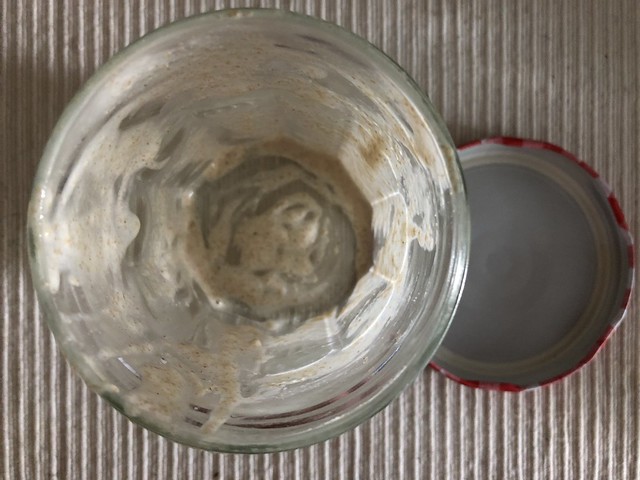
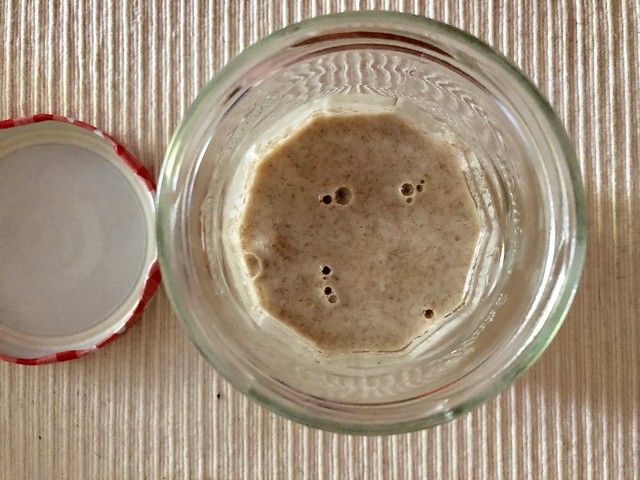
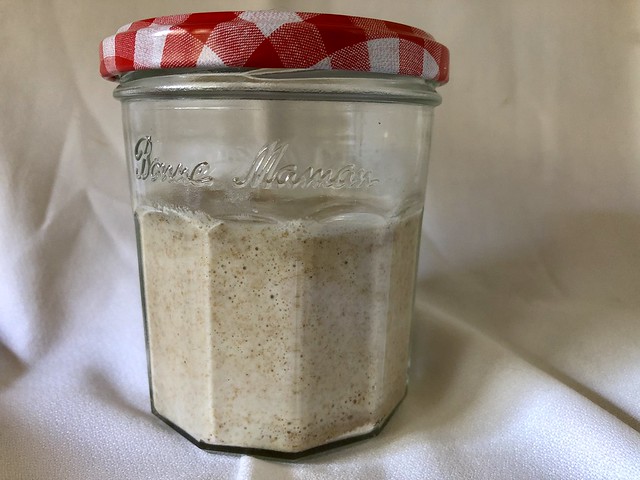
When you're ready to bake again, the starter will look rather sad and grey, but will be fine to use; should the dough be covered in mould (usually blue or white), remove the mouldy layers, and use only the creamy centre. To revive your sourdough, mix 50g of flour and 70g of water, to which you will add 25g of sourdough (or 2oz flour, 2.5oz water, 1oz sourdough). Mix until smooth-ish, and leave to sit at room temperature until frothy. The starter is ready to use once it is active again.
Happy Baking!


Comments
Post a Comment